Setting up the Swing Catalyst Fox USB 3.0 camera(s)
This article covers basic camera information as well as how to setup and configure the Fox USB 3.0 camera from Swing Catalyst.
For a brief step by step guide please see : https://swingcatalyst.com/camera-guide
Camera information:
Both the “Lynx” and “Fox” cameras are only supported in Swing Catalyst 9.8.2 or higher. Which version of the software an I running?
Maximum frame rate is 249 FPS.
Maximum resolution of 1440 x 1080.
Getting Started: Camera Assembly
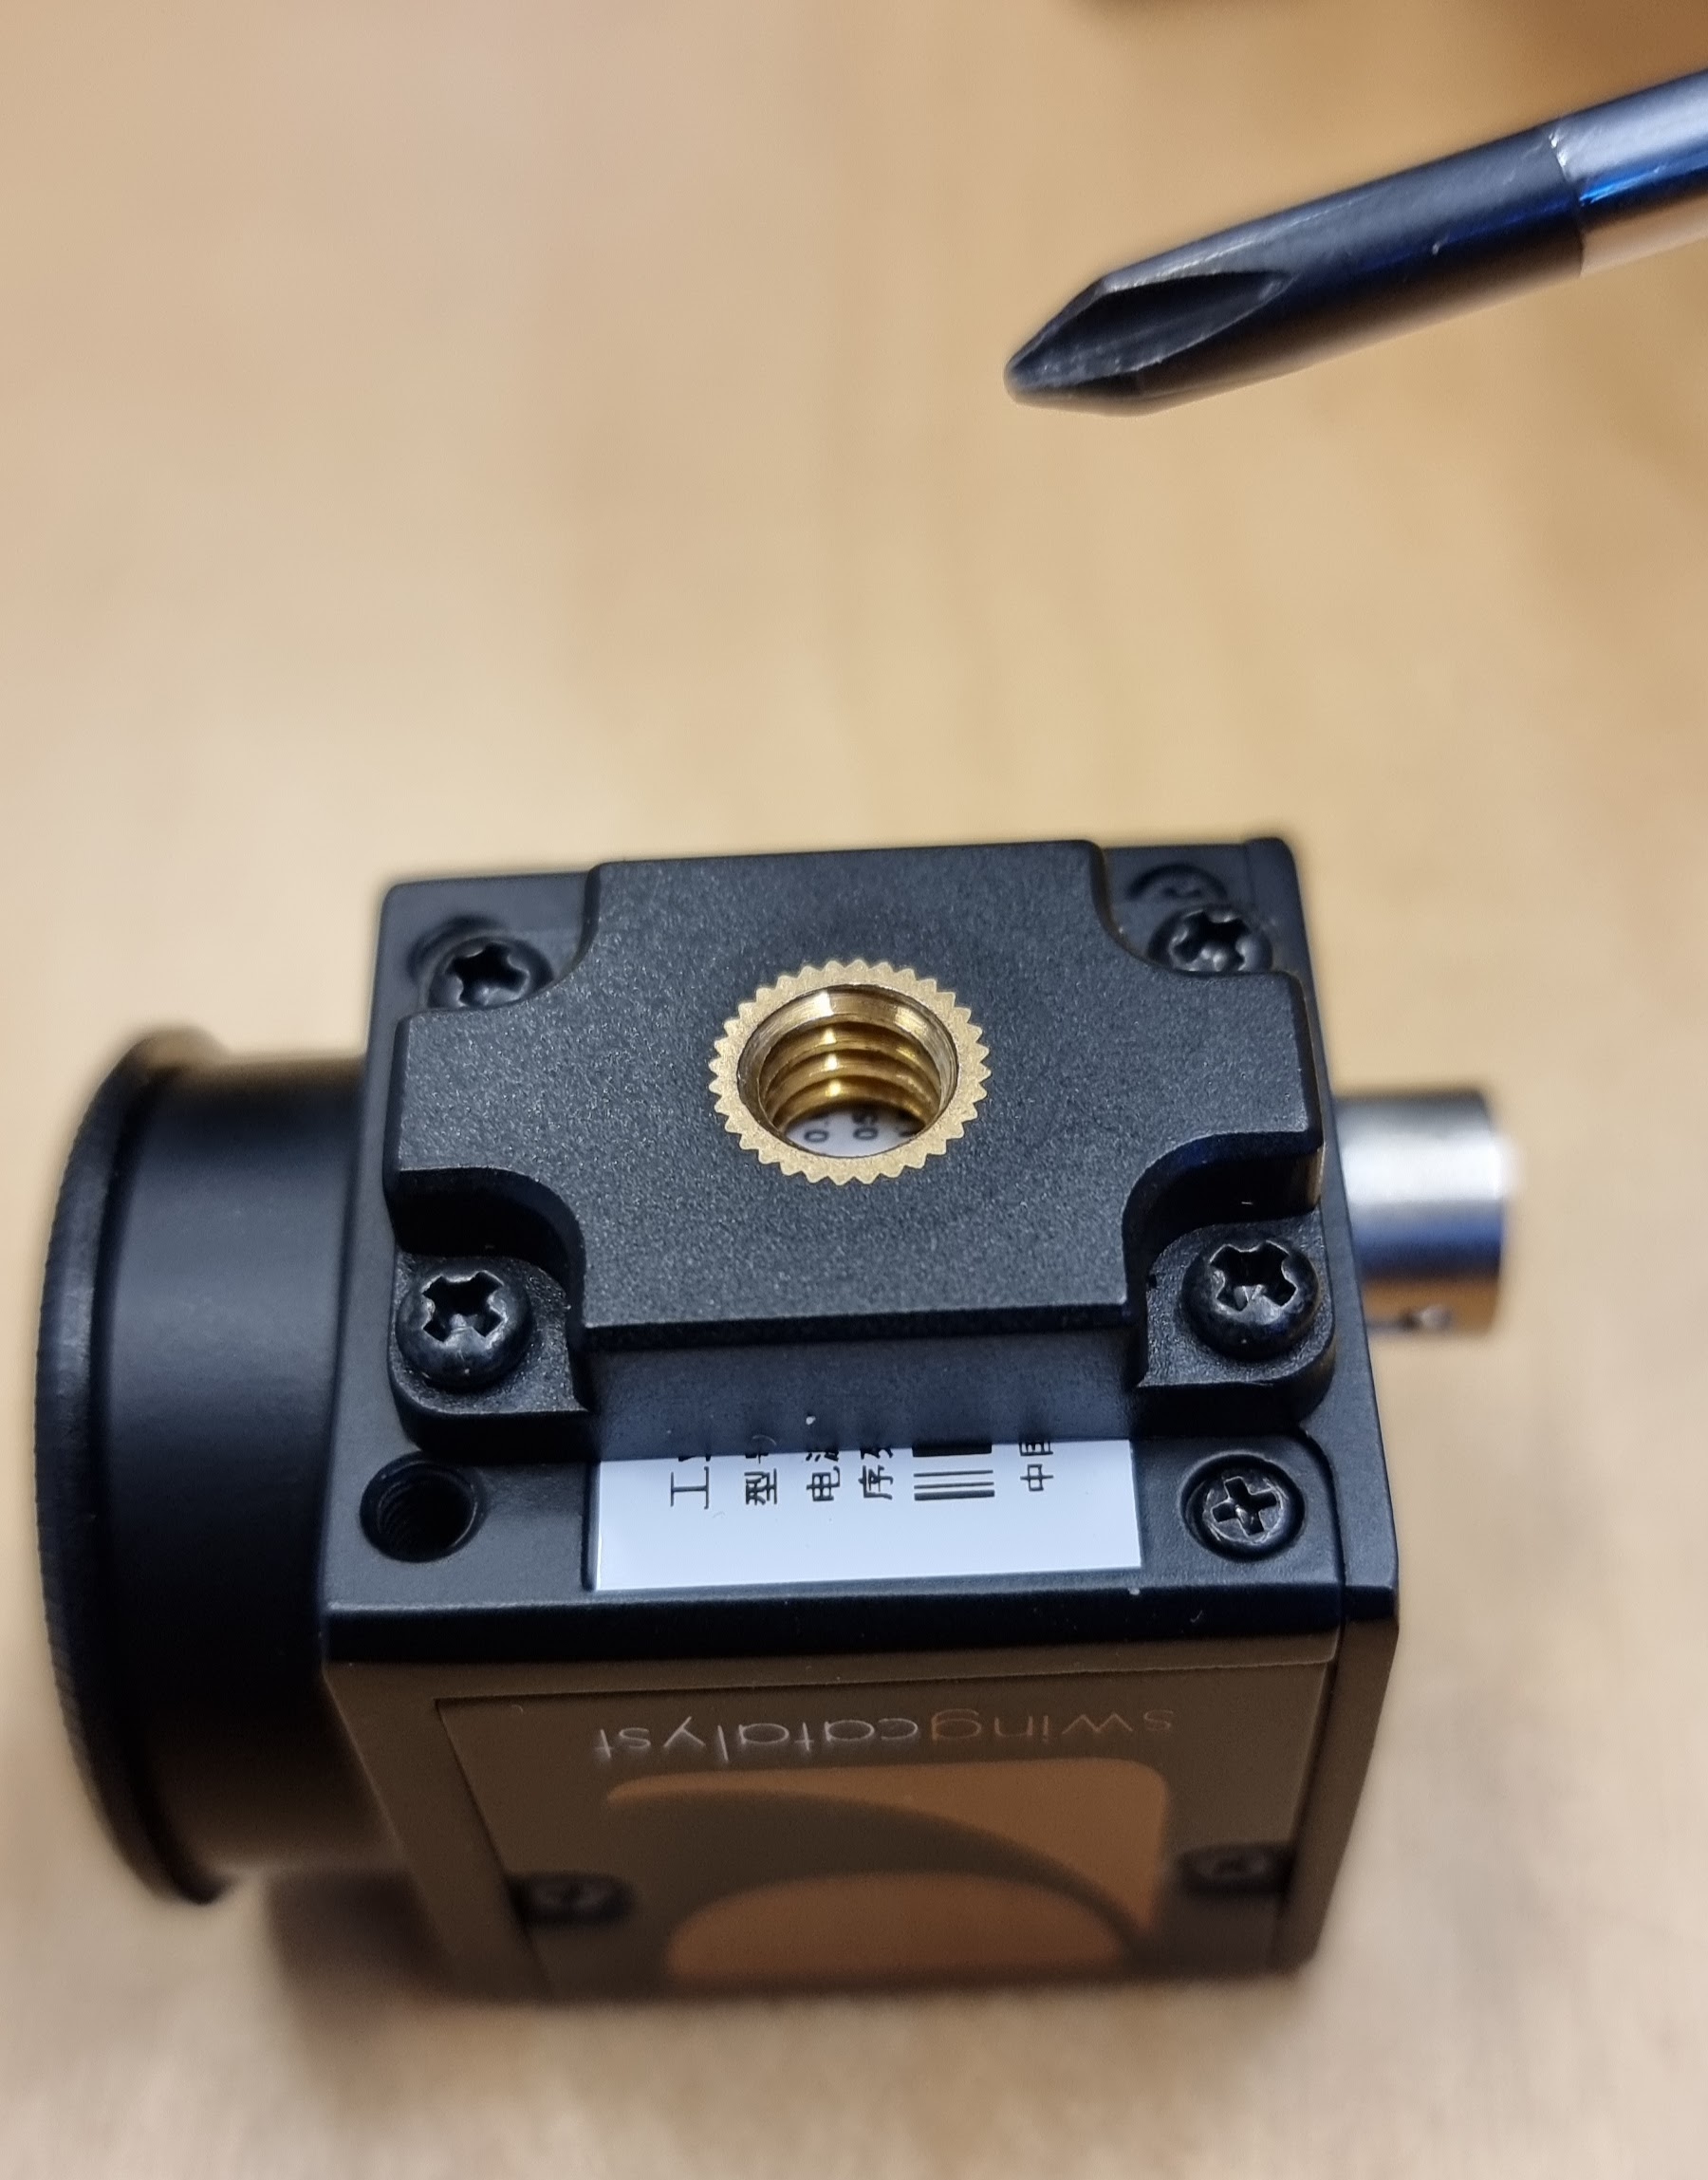
Attach the tripod adapter to the camera body using the 4 black Phillips head screws included with the camera.
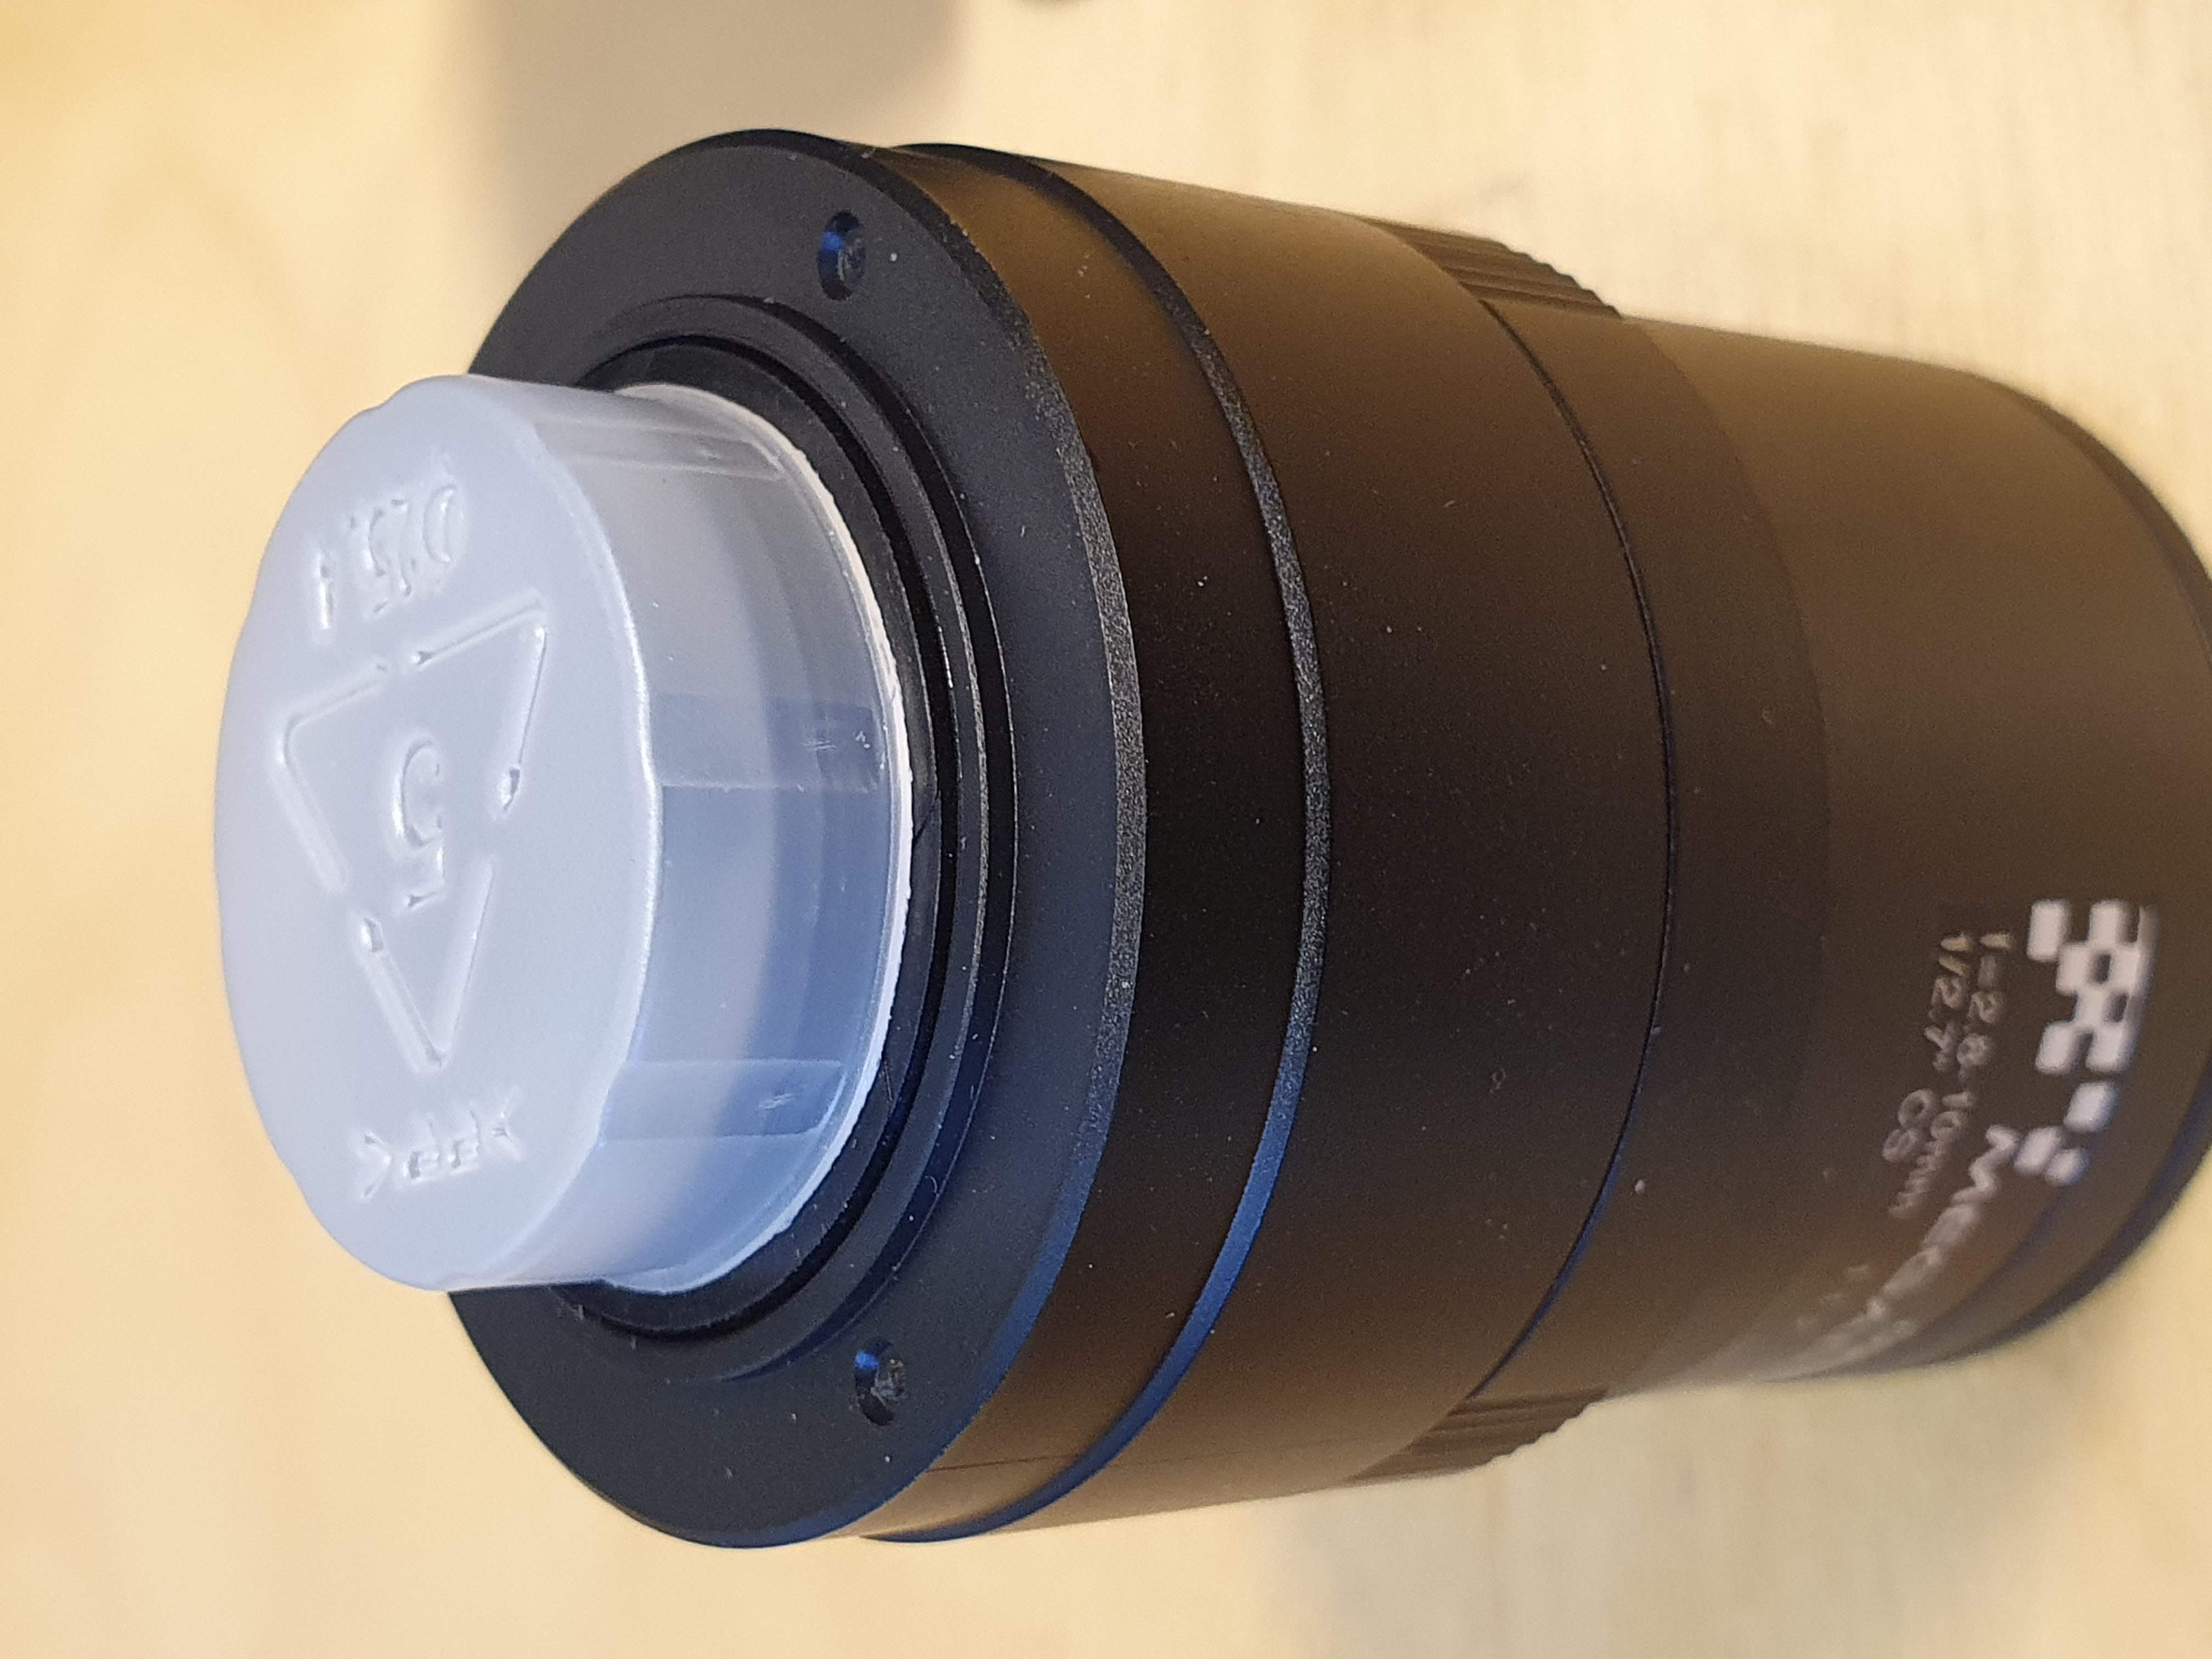
Unpack the lens and make sure to remove the plastic lens covers
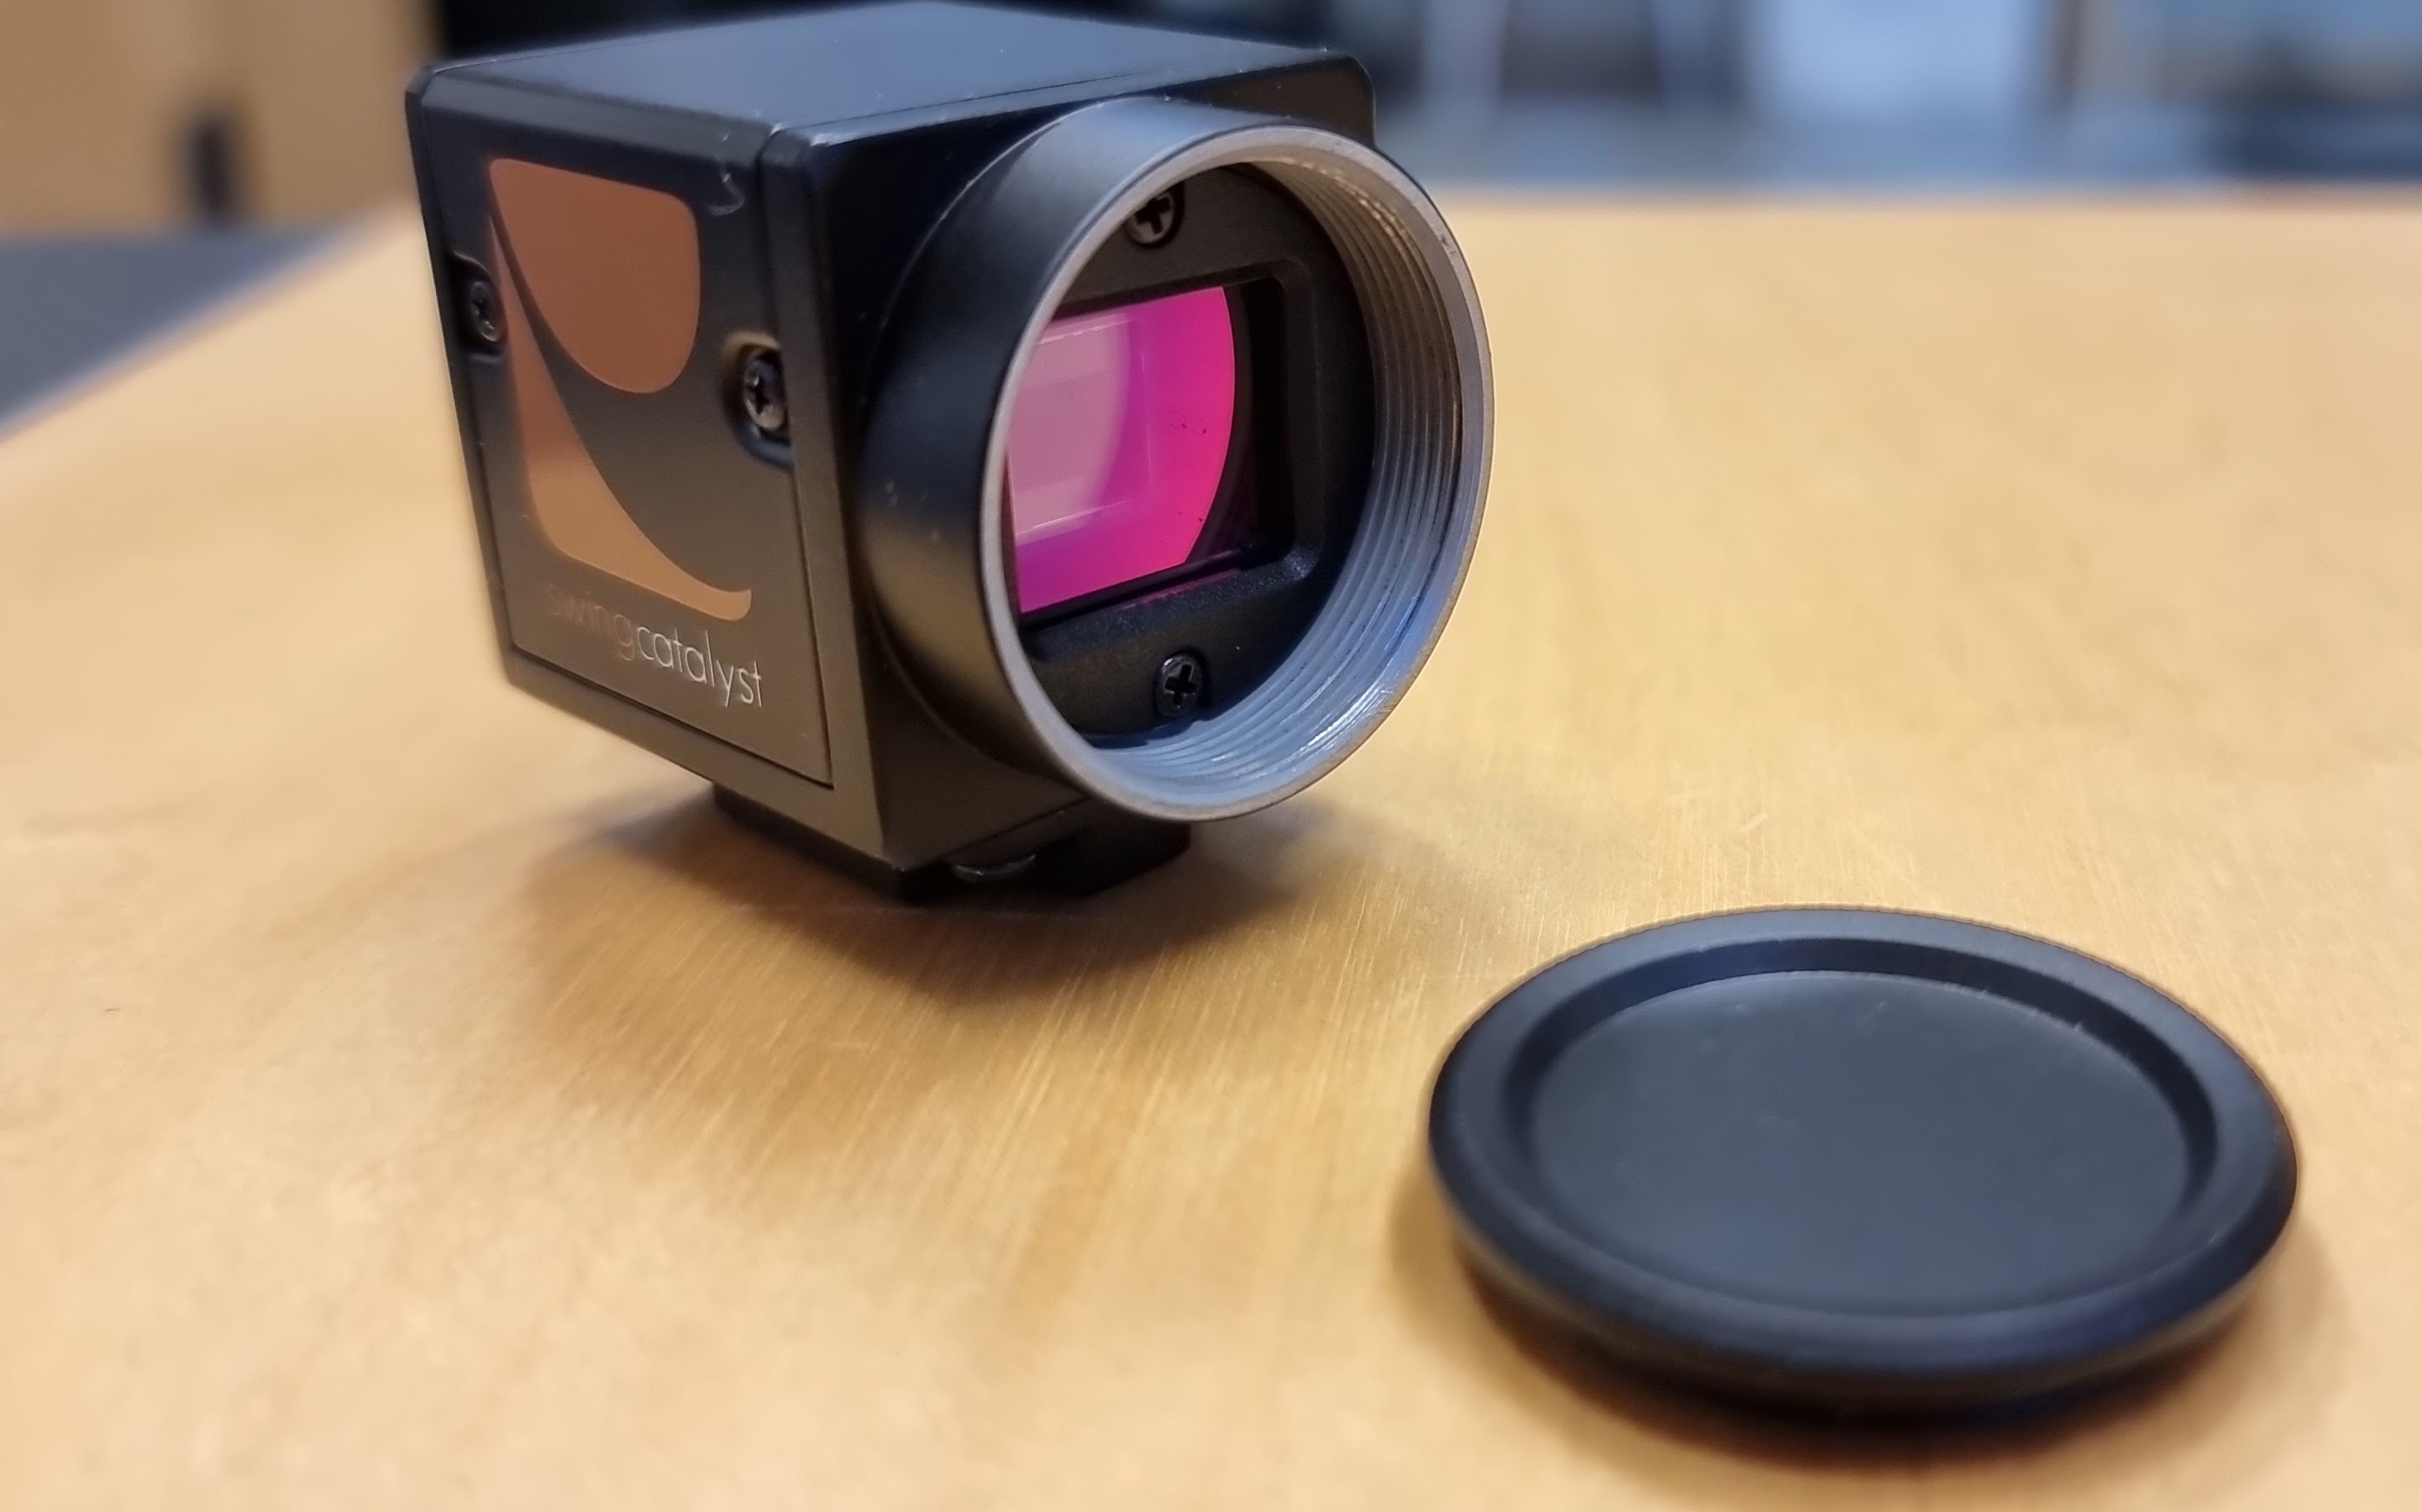
Remove the protective cover from the camera
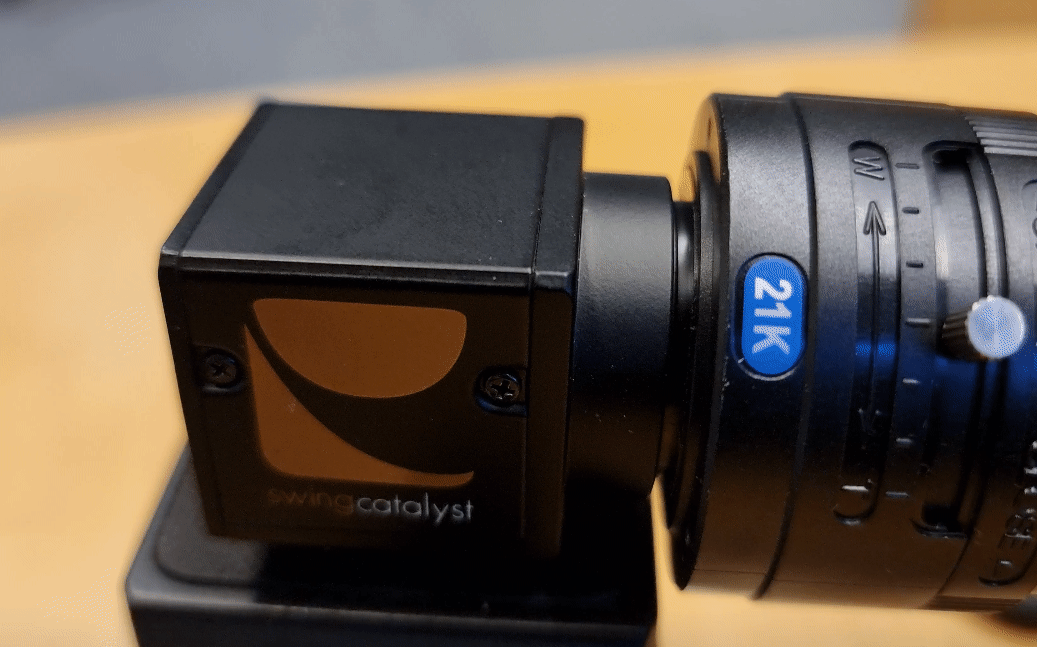
Attaching the lens to the camera
Adjusting the camera lens
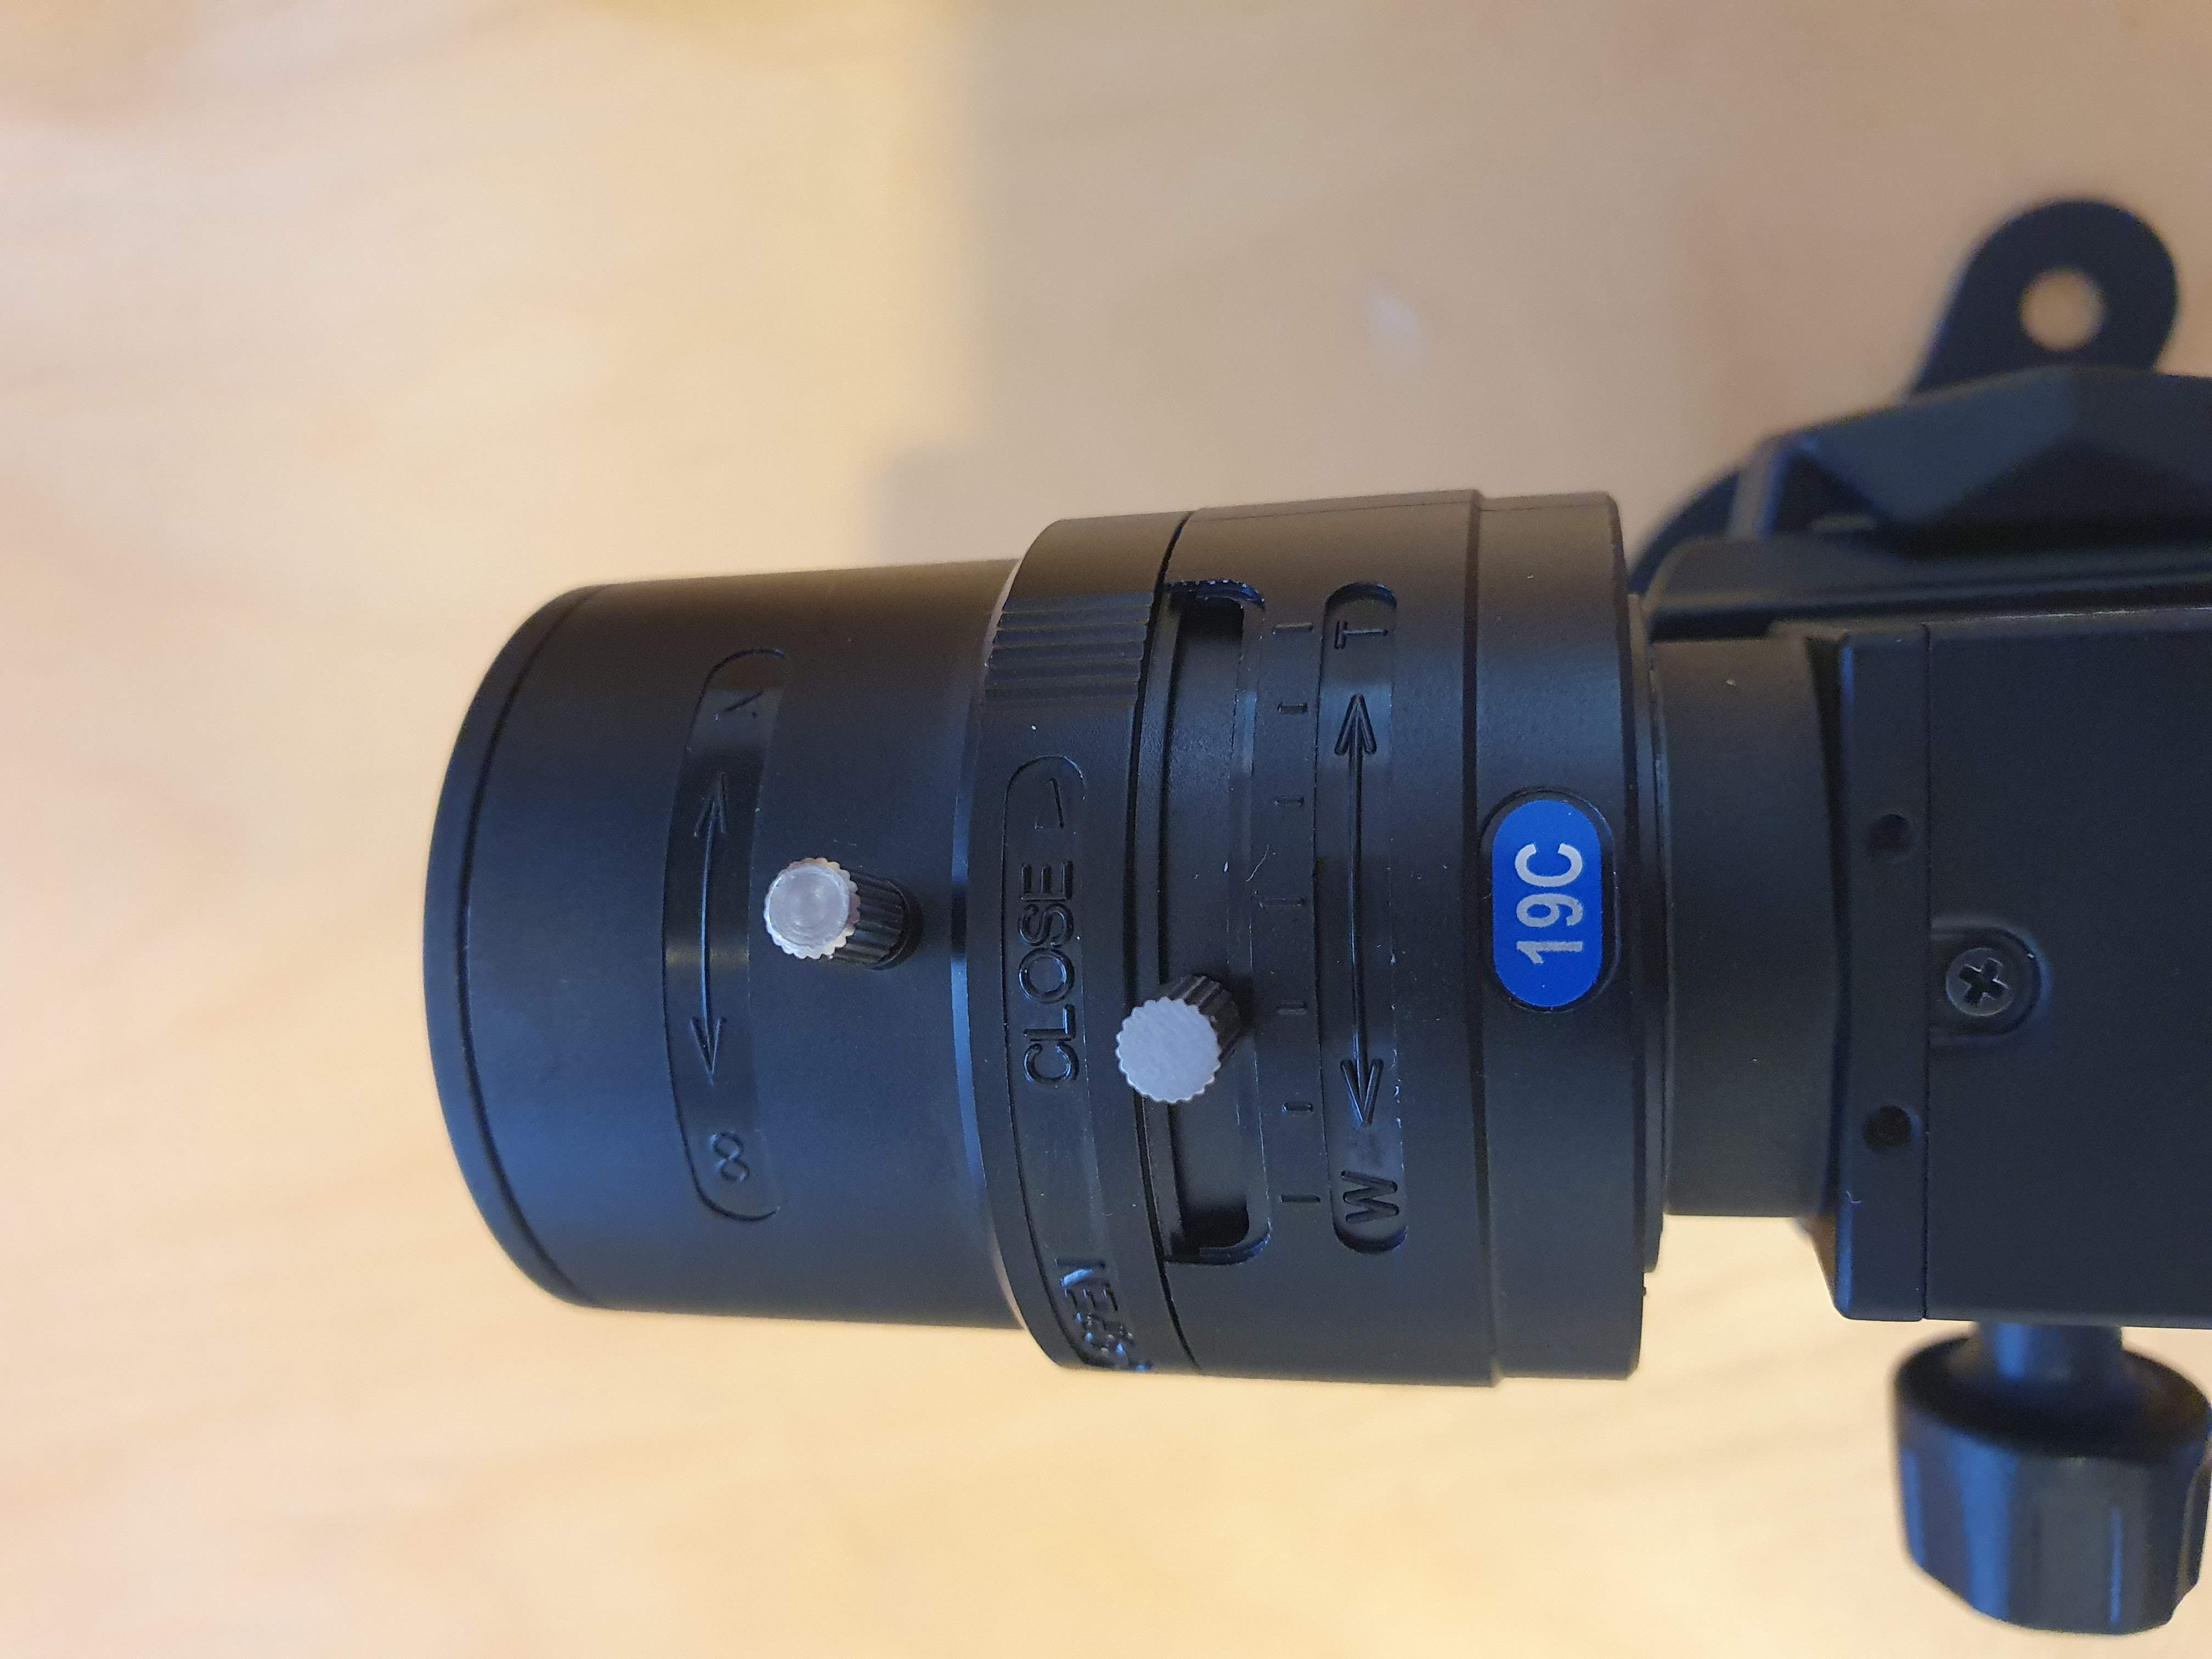
This lens has three adjustments, from top to bottom:
Focus: (adjusting towards the ∞ infinity symbol) will bring objects that are farther away into focus, the opposite will bring objects closer to the lens into focus.
Aperture: Adjusting the aperture (also called iris), will adjust how much light is able to pass through the lens, a more closed aperture will result in a sharper image).
Zoom: Adjusts the zoom of the lens wide or telephoto. (This also will affect focus so you will need to adjust both to achieve a good image).
Connecting the USB cable
Connect the USB3 cable to the camera, and tighten the locking screws gently.
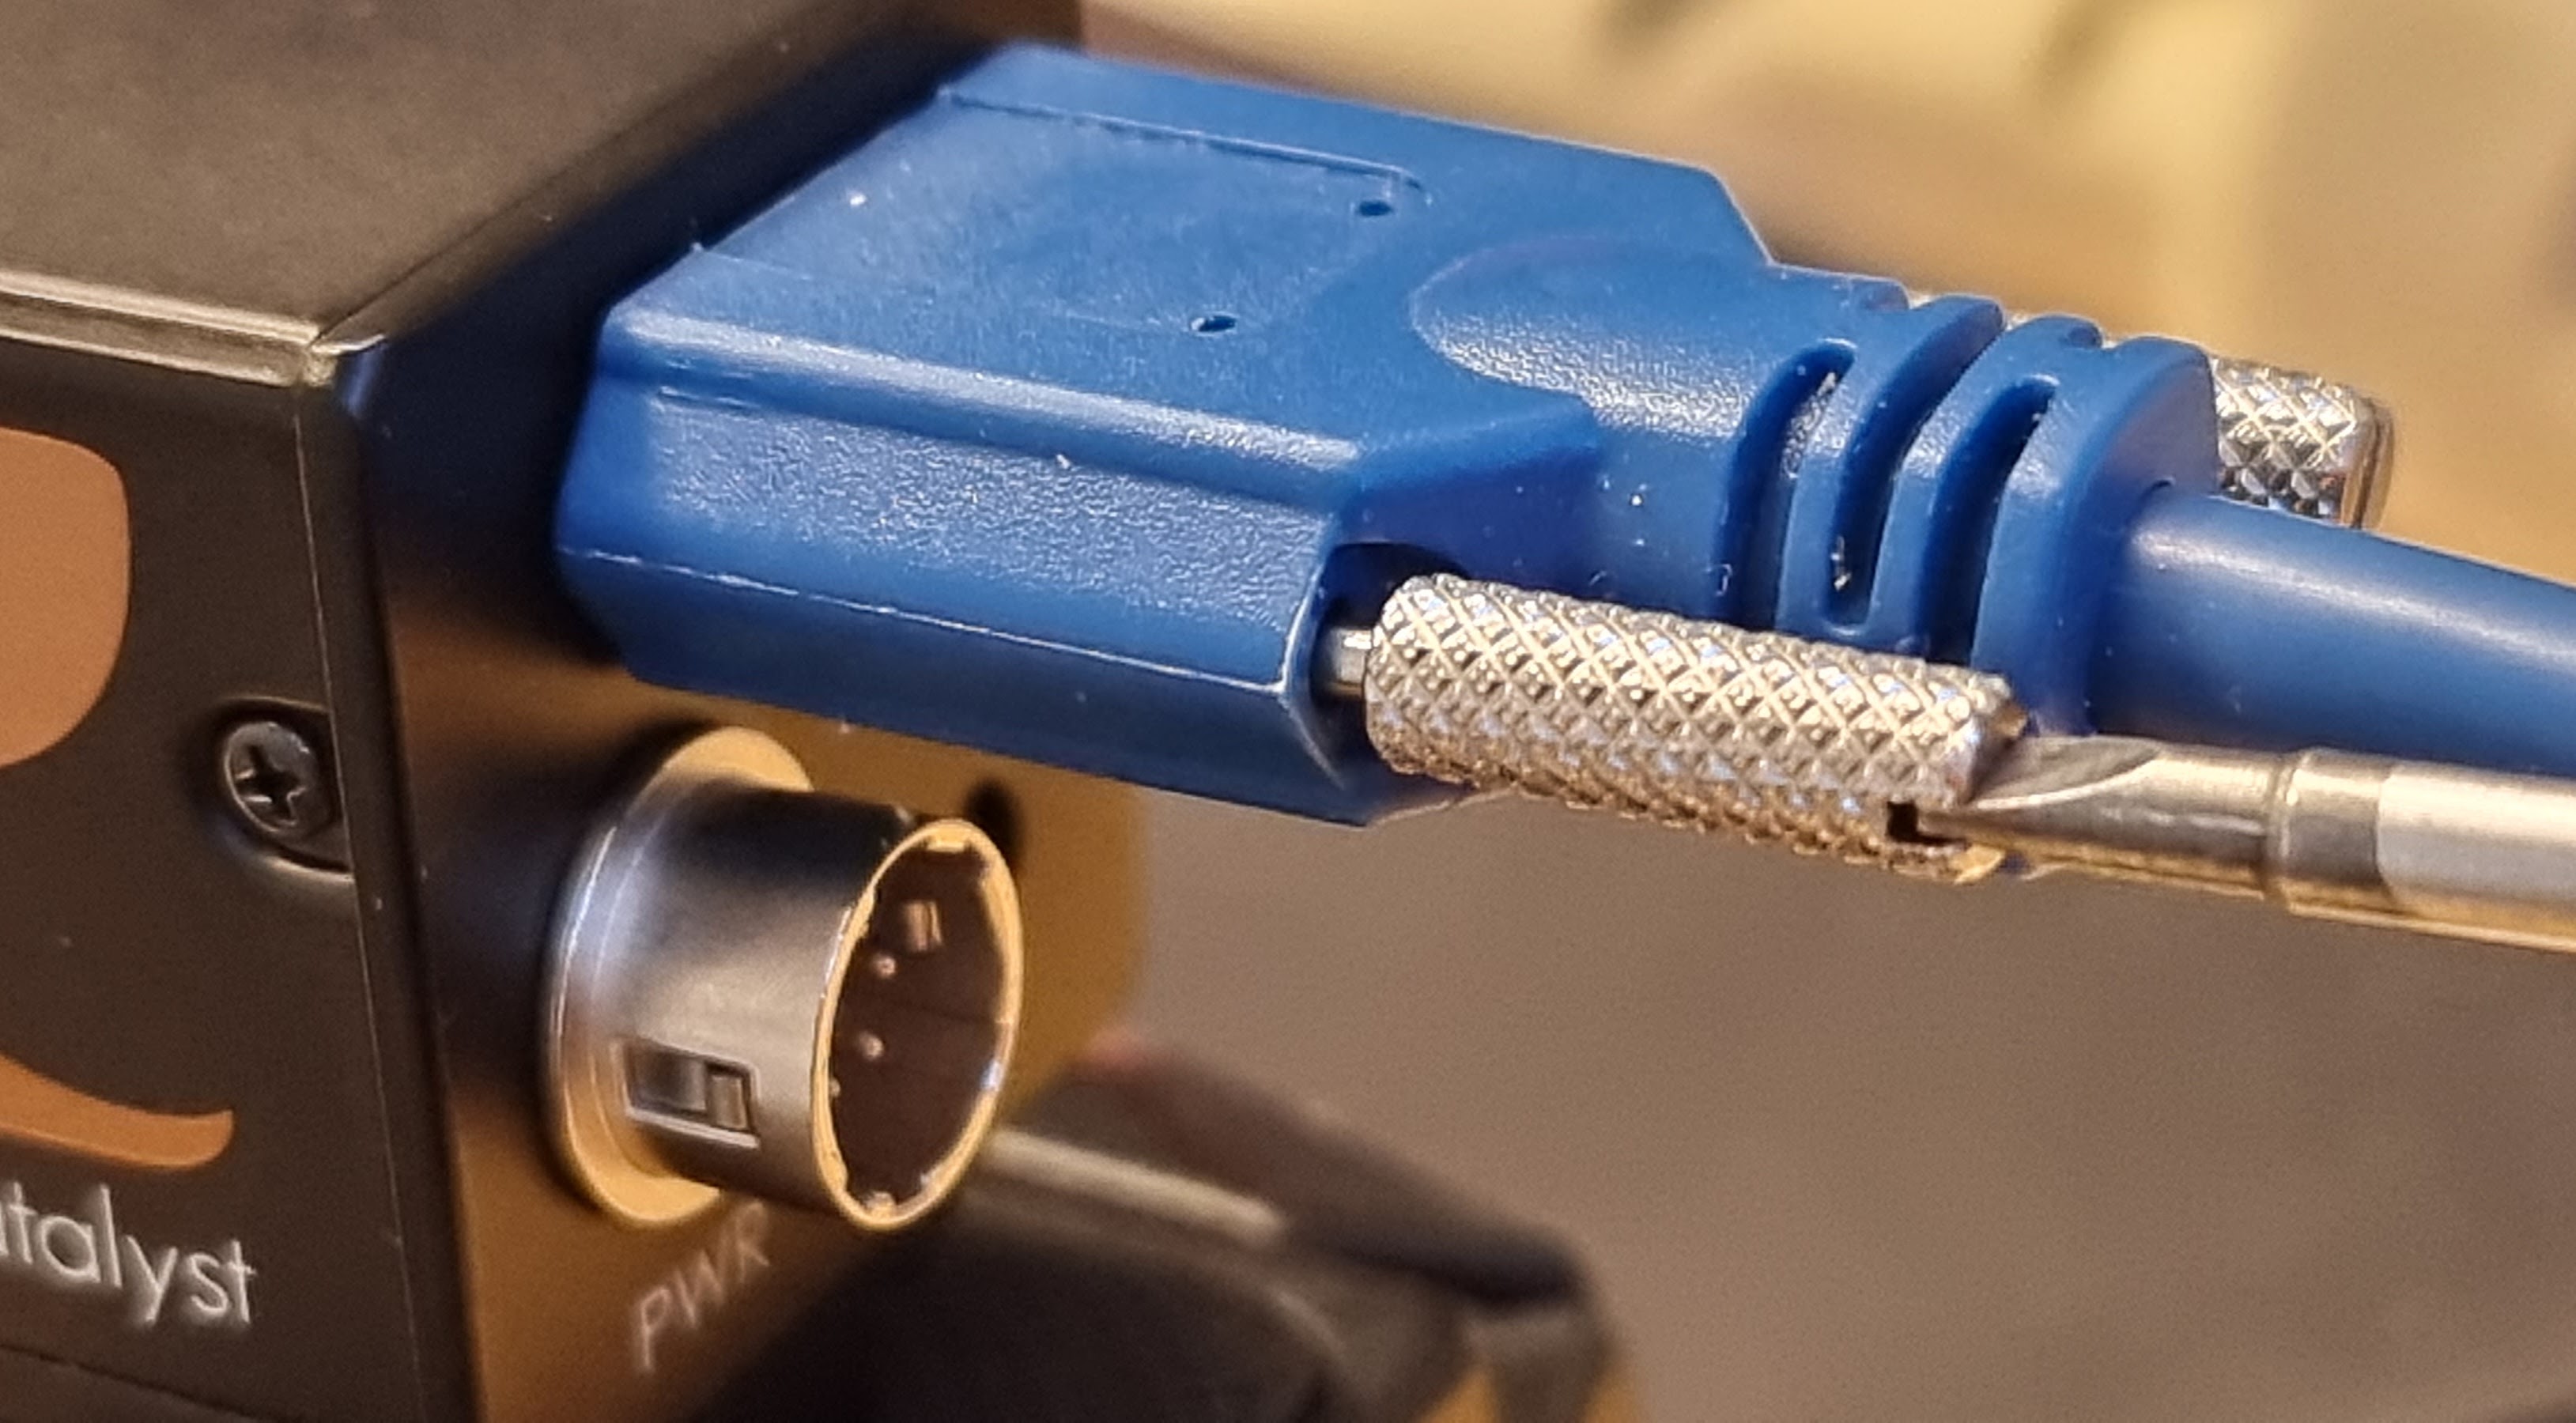
The camera should begin blinking red (this is OK, we haven’t installed the driver yet).
Driver installation and enabling the camera(s):
Step 1: Click to Download and install the drivers for your camera(s)
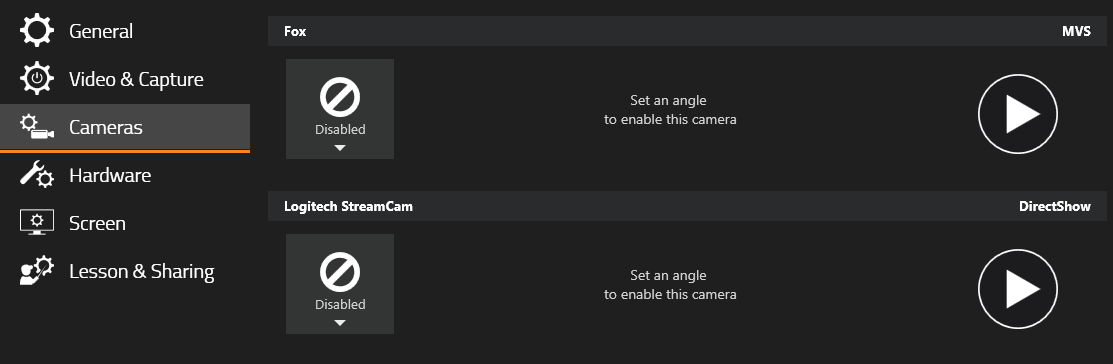
Step 2: Open Swing Catalyst and click on the gear icon in the bottom left corner of the main menu and go to your Cameras settings.
Step 3: Click the Play button to get a preview. Then click “Disabled” and assign the appropriate angle to each camera. Lastly switch the camera from “Off” to “On”.
Configuring the cameras settings:
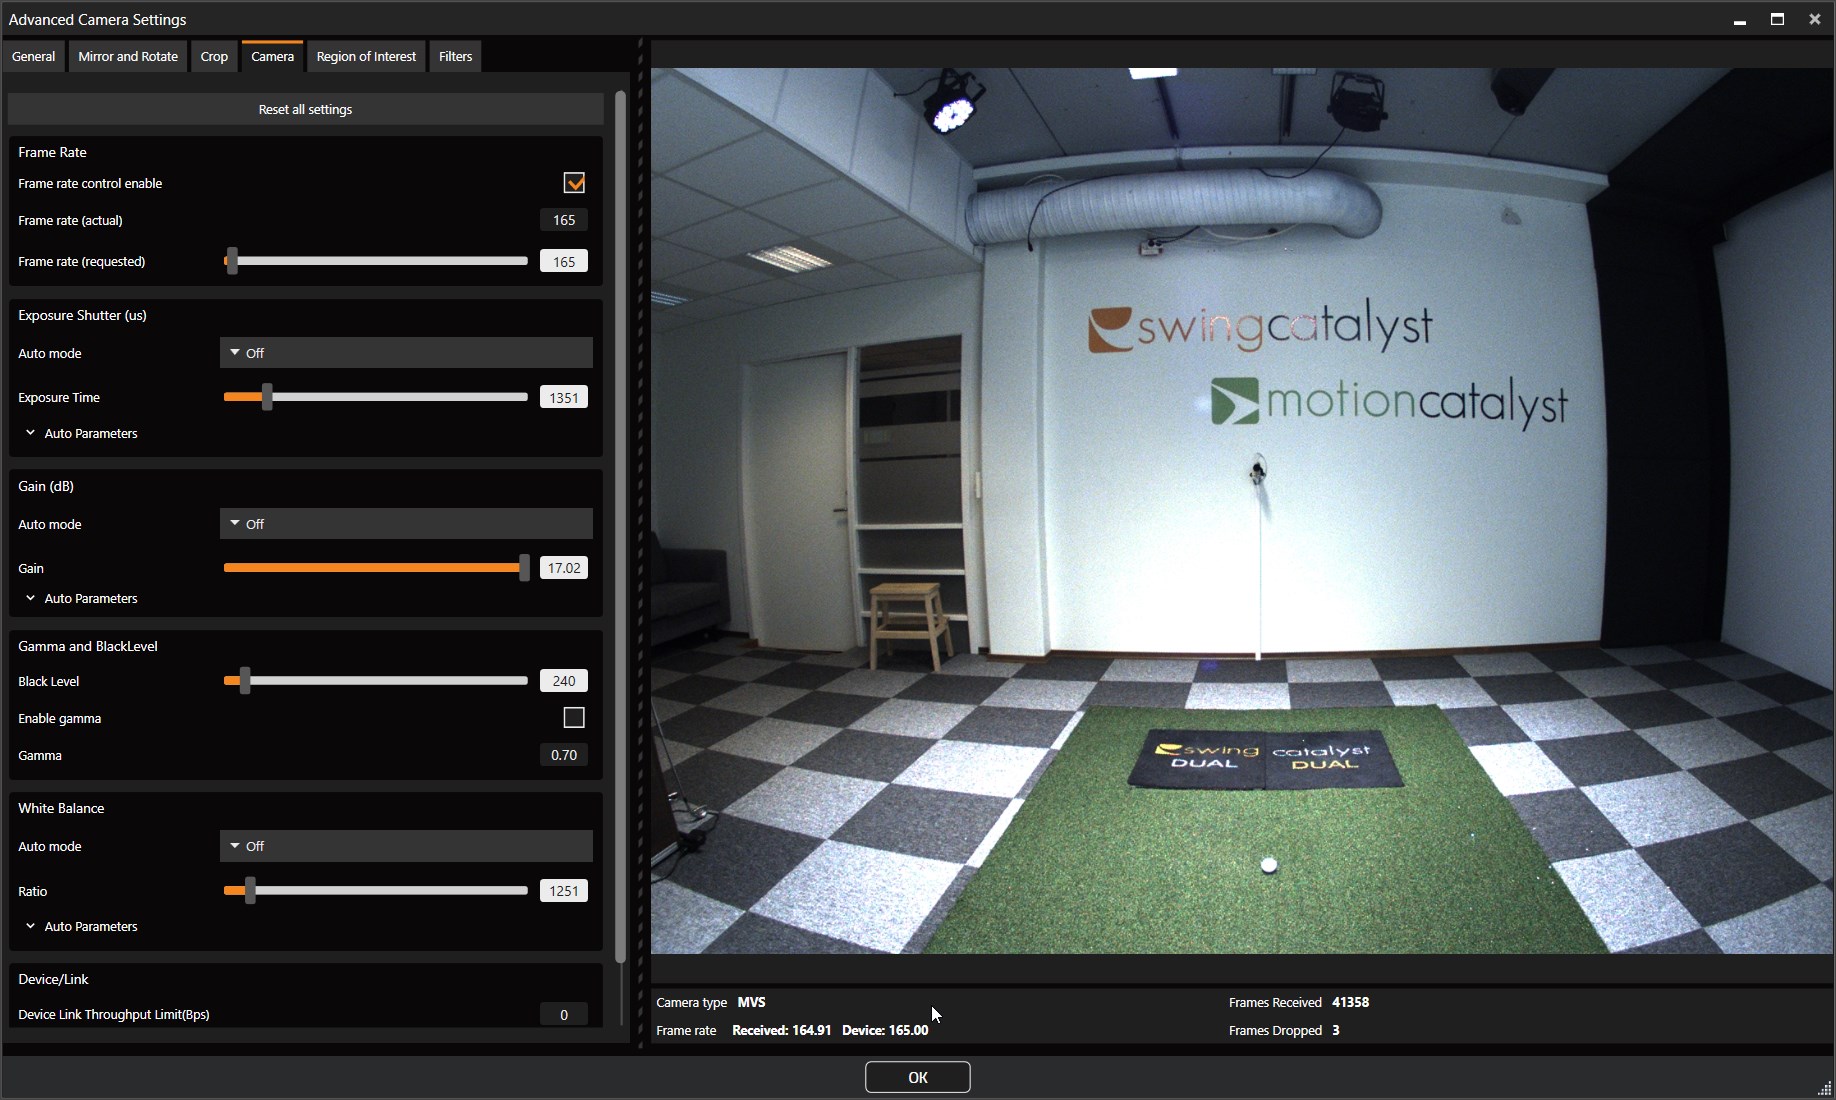
Step 1: Click the “Advanced” button and go to the “Camera” tab.
Step 2: Assign the same values as the pictures below.** IMPORTANT: To have a clear view of the shaft and club at impact, you need to set the exposure to 600 or below. Add light to the image by increasing “gain”. If the image is still dark, you can increase the exposure, but that will add shaft blur. To make sure you have the optimal light source, we highly recommend installing three of these lights**: Thomann 100w ,one light down the line, one face on right and one face on left, either ceiling mounted or wall mounted. The lights should have a minimum of 1.5 meters from the ball.
Step 4: Set all values that show “continuous” to “off”.
Step 5: Repeat this for any other Fox cameras you have connected.
Step 4: You should now be able to close the settings and go into capture mode to start recording.
Troubleshooting
USB 3.0 can be tricky to work with. Some USB cables work better than others and certain USB 3.0 controllers can cause problems. Please see our recommended USB components article for details: recommended-usb3-components.md
Dropped frames:
Reducing the frame rate on each camera may help avoid or reduce dropped frames.
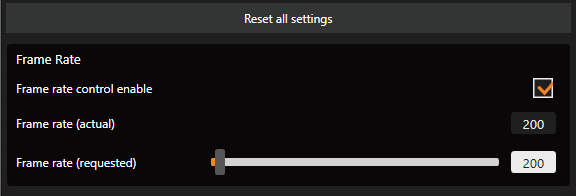
Especially with multiple camera setups, adjusting the frame rate can help stabilize a system at the expense of a few FPS.
To illustrate how much bandwidth one camera uses, for example USB 3.0 is advertised to be capable of 5Gb/s, which is 625 MB/s.
One USB 3.0 camera with a resolution of: 1920 x 1200 resolution at 150 FPS will use roughly 345MB/s per camera. - It is therefor important to have a dedicated USB 3.0 controller card per our recommendations for multiple camera setups (in most cases).
Another approach, often good in combination with reducing the bandwidth consumption is by utilizing region of interest, often called ROI.
If your setup is dropping frames still try to disconnect one camera (if a multiple camera setup) and close any additional software, if this helps it could be an indication that your computer might not have enough resources.
Region Of Interest (ROI):
Using a region of interest (or area of interest) will reduce the overall image size and boost the FPS, but also it can help lower the bandwidth usage which in turns could reduce dropped frames (see above on how to utilize ROI).
Furthermore USB cables can be an important factor with regards to received frame rate, as mentioned in: recommended-usb3-components.md
Connectivity problems (camera disconnects):
USB 3 can be prone to connectivity problems. Most often these issues stem from a bad USB 3.0 extender, too long of a cable (overall) or simply a cable that has been damaged by simply bending it too sharply.
Camera LED blinks red, not green:
This could be an indication that the drivers for the camera are not installed properly. Please try to reinstall the drivers and disconnect and reconnect the camera to a different USB port.
Indication that something is wrong with the drivers can be sometimes seen in the Windows Device Manager, in this case the Fox camera is the “USB3 Vision Device”:

Other problems:
Depending on your hardware it might not be the best to have the sharpening and denoise filters on, turning these off will reduce some CPU & GPU usage. You can find the camera filters in the Advanced Camera Settings Filters tab. More info on filters here: improving-image-quality.md